It sounds like an intimidating, professional-level technique and while it requires precision and patience, it’s easily achievable in your home kitchen using inexpensive tools and common ingredients.
Once you understand the process, you’ll be on your way to creating chocolates that snap beautifully, shine brilliantly, and resist blooming.
Dominating the art of tempering chocolate
is the single most important task in your chocolate making journey.
Why temper? It’s beautiful science
In chemistry terminology, chocolate is a suspension of solid particles. Chocolate -dark, milk or white- is a mix of cocoa solids, cocoa butter, sugar, emulsifiers and other ingredients, like dairy solids and flavours.
Cocoa butter has an uncommon property: it can crystallize into six different forms, each with a different melting point and crystal structure. In science, this kind of substance is called a polymorph.
Only one of these crystalline forms, Form V, gives chocolate its peculiar characteristics: the snap, shine, and stability that you associate with high quality chocolate.
Other crystalline forms are not so desirable: they have melting points that are too low for storage, are unstable when stored, are too soft or have a dull and unappealing presentation.
When chocolate melts, all the crystal structures are dissolved. If you simply let it cool and solidify, the cocoa butter will recrystallize randomly, forming unstable structures that are dull and soft. Think of a chocolate bar that melts in a summer day .
Chocolate that is not tempered properly looks sad and dull, melts too easily and may develop “white bloom” (a dusty powdery residue) when stored.
The following is our table of Polymorphs of Chocolate;
| FORM | MELTING POINT | NOTES |
| I | 17.3 C / 63.14 F | Soft, crumbly, dull, melts too easily |
| II | 23.3 C / 73.4 F | Soft, crumbly, dull, melts too easily |
| III | 25.5 C / 77.9 F | Melts easily, firm, dull, no “snap” |
| IV | 27.3 C / 81.14 F | More firm, dull, no “snap”, no shine |
| V | 32.8 C / 92.1 F | Shiny, dense and breaks with a snap |
| VI | 36.3 C / 97.34 F | Hard, dense and unpleasant. |
The table shows a “sweet spot” around 32-33 degrees C (88 to 92F) where fat crystals of forms I to IV are still molten and dissolved. This temperature is also called the “target”.
Keeping the chocolate at this temperature range while stirring encourages the formation of Form V crystals. If you add broken chocolate pieces, at this point, they will act as crystal-growth nodes, and make the tempering process even faster.
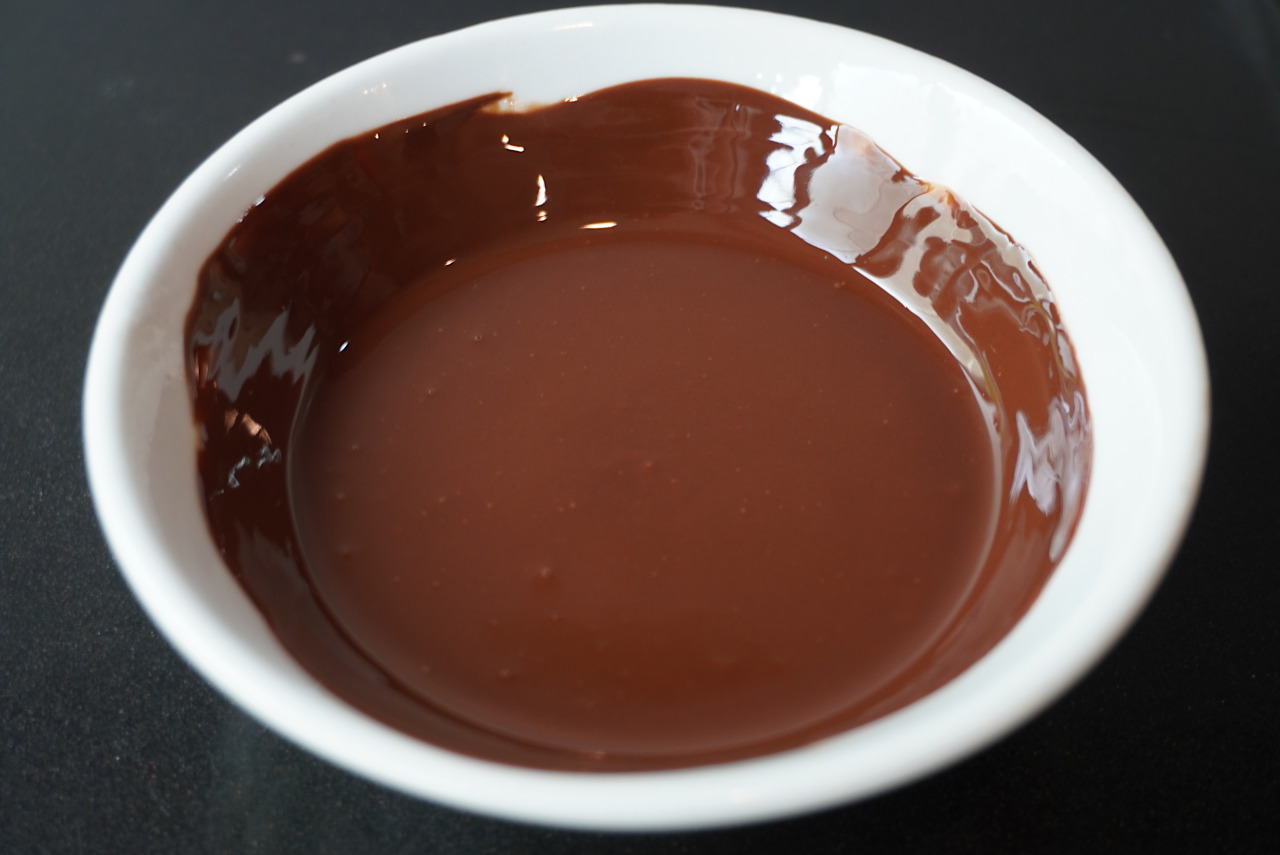
This is Tempering Chocolate: the art of making something truly beautiful out of a molten mess.
Hint: this is a learning curve. Don’t be discouraged by challenges and initial setbacks. You can do this!
Method for tempering chocolate
We use the seeding method with a microwave oven: this involves melting about 3/4 of the chocolate to the working range for the type of chocolate you are using, and then using the remaining 1/4 to “seed crystals” into the molten chocolate.
These seeds will become the surfaces where the Form V crystals will grow during the tempering process.
Step 1- Prepare and measure
Weigh 3/4 of the amount of chocolate into a shallow tray for tempering. The tempering plate or tray must fit into your microwave oven. Place the remainder 1/4 chocolate in a separate plate and chop it coarsely with a knife. The chopped pieces must be about the size of peas.
If your chocolate required additional cocoa butter, flavours or colours, add them now to the plate before heating.
Step 2- Heat in the microwave
A tempering plate or tray made out of ceramic is the ideal way to melt chocolate in a microwave: it absorbs the microwaves and then radiates the heat. This neat property keeps your chocolate molten for longer, but requires precision.
Place the plate in the oven and use 20-second bursts of microwaves to heat up the chocolate. After each burst check the results: if the chocolate still looks solid, add another 20-second burst of microwaves -usually three or four bursts will be enough.
Use your digital thermometer in between bursts to ensure the plate does not get warmer than 50 degrees C (about 125 F) – anything hotter than this and you are looking at a ruined batch of burnt chocolate.
Step 3- Mix
The radiant heat of the plate will melt the rest of the chocolate. Now you need to use your palette knife or silicone paddle to stir and mix. As the chocolate becomes liquid you can rock the plate from side to side to swish the chocolate around.
Remember the 1/4 of chocolate that you chopped before? Now is the time to add it to the warm plate with the molten chocolate.
Use a clean spoon to transfer one spoonful of the broken pieces into the plate with the molten chocolate, and stir-mix-swish until it melts down and is thoroughly combined.
Check the temperature often – if it goes below 38 C (about 100 F) then it requires another 10-second burst in the microwave.
Repeat until all the broken pieces of chocolate are incorporated. It is a time-consuming process, but it’s worth it. Repeat the stir-mix-swish until everything is thoroughly combined.
Step 4- Lower the temperature
You need to lower the temperature of the chocolate to about 28 C (82 F) – at this point Form V will be in liquid or semi-liquid form and the crystals will start growing.
Check your temperature carefully as you do not want it to get colder than 28 C -otherwise you will promote the growth of Form IV, which is not the ideal type of crystal for tempering.
Lowering the temperature can take a few seconds or a few minutes, depending on your working area. Place the tray in a fridge, or close to a window in winter -this should help the process -but do not let it cool down too much.
Repeat the stir-mix-swish for a couple of minutes -this will ensure the chocolate is homogeneous. You can repeat this step several times while lowering down the temperature of the chocolate.
Step 5- Reheat to 32 C (90F)
Slowly raising the temperature again to the Form V melting point will ensure that the majority of the crystals will be of this category. Also, the reheat contributes to a more fluid chocolate that is easier to work with.
Add a 10-second burst in the microwave to your chocolate and check the temperature -repeat this until you reach 32 to 33 C (90 to 92 F). Keep the stir-mix-swish for a couple of minutes -this will ensure the chocolate is homogeneous.
Do not overheat, as this will melt away the Form V crystals -and you will have to restart the tempering process.
Congratulations, your tempered chocolate is now ready for use.
Pour it into a mold, an acetate film or use it to enrobe: it will remain liquid and in working condition for 10 minutes -enough time to prepare something unforgettable. If you need to keep it liquid for longer, use a 10-second burst in the microwave oven.
And then, off to the fridge it goes.
Once it hardens, it will be a delectable, shiny surprise.